How to Add Disqus to a React Application
In this article, we're going to walk you through the process of adding a Disqus comment section to a React.js application.
The code for this article can be found on our Github.
Let's get started!
Table of Contents
Signup For Disqus & Register New Website
The first thing you'll need to do is create an account on Disqus and register your website.
Create a Disqus Account
First, we need to create an account on Disqus.
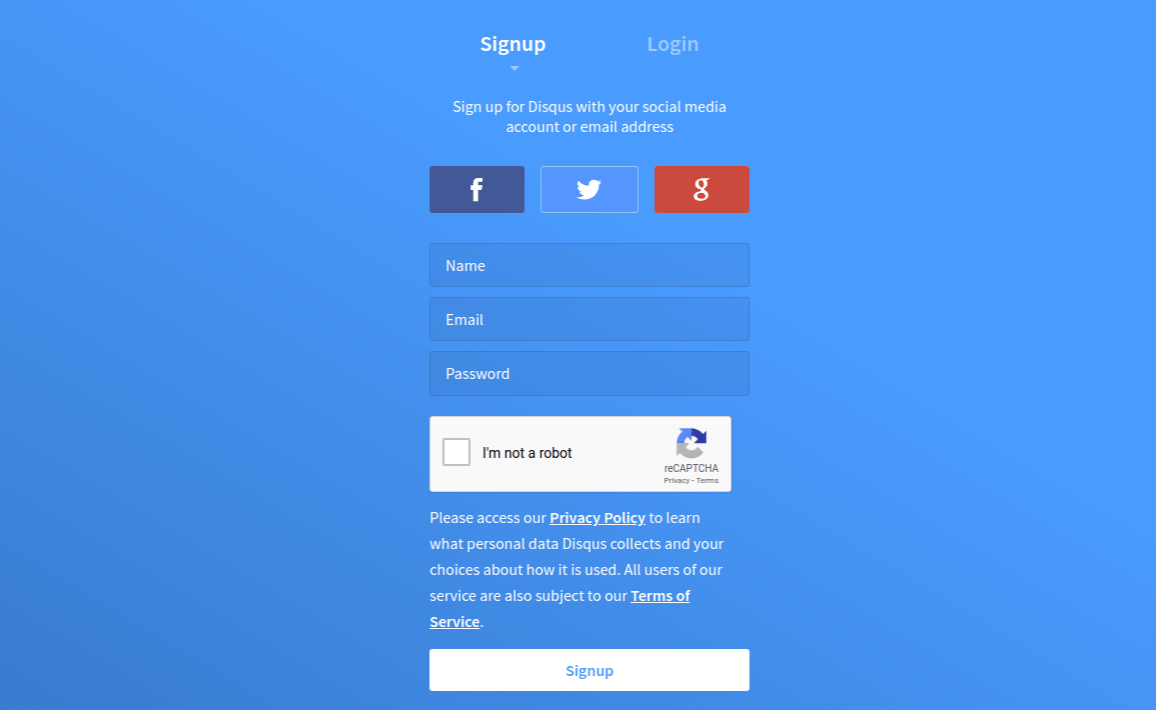
Go to their website and create an account.

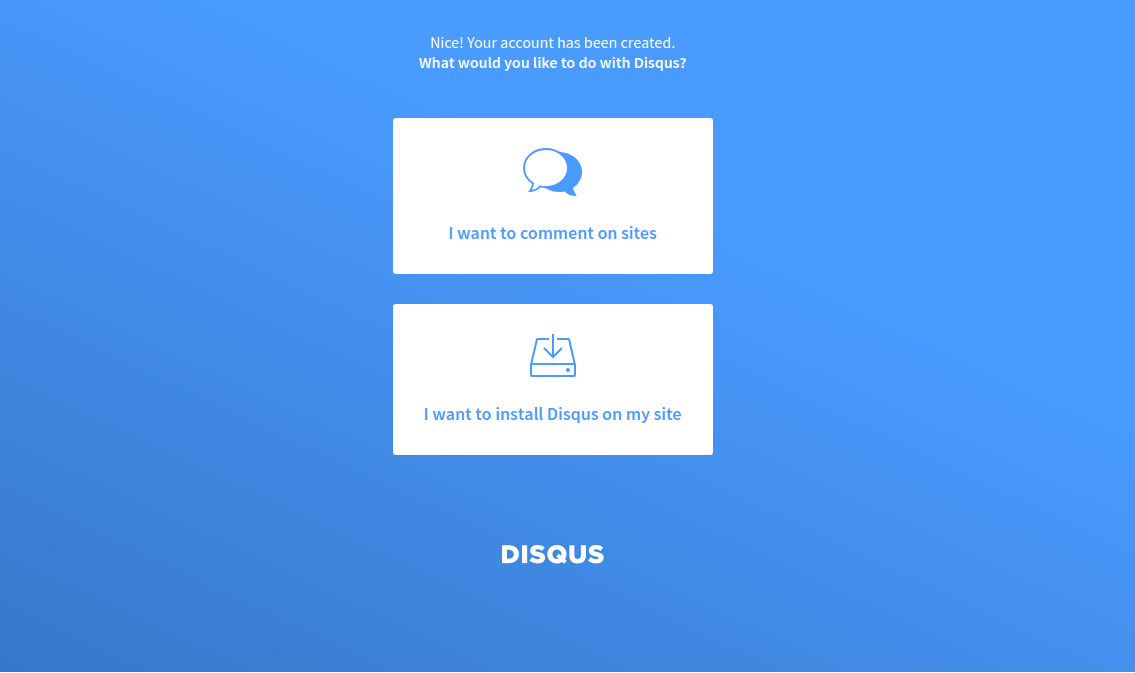
You will then be prompted to choose between a I want to comment on sites or I want to install Disqus on my site account. Choose the second option.

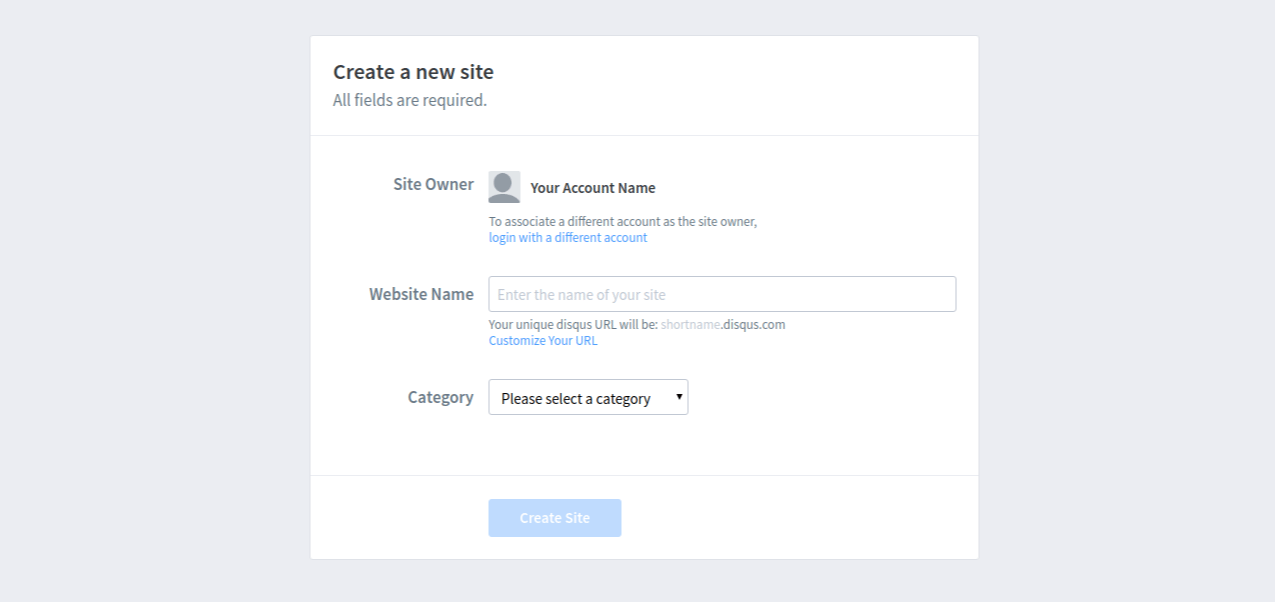
And finally, register your site by filling out the Create a new site form and pressing the Create Site button.

Take note of the unique Disqus shortname that they create for your site. We'll need that shortname when we add Disqus to our React application.
After registering your new site, you'll be prompted to fill out additional information. You can fill those things out if you wish, but it's not needed to successfully finish the rest of this tutorial.
Add Disqus to Your Application
If all went as planned, you should have a Disqus account setup, a new site registered, and a unique shortname for that site assigned by Disqus.
Let's get Disqus added to our React application.
Install Disqus-React NPM Package
First, we need to install the disqus-react NPM package. This package is maintained by the Disqus team and makes adding Disqus components super easy.
Open a terminal window and navigate to the root directory of the Create-React-App application you created earlier.
Then, execute the following command to install the package and save it to your project's dependencies:
npm install disqus-react --save
Now we're ready to add it to your app.
Add Disqus Component To Your App
Open your React application in your favorite text editor.
First, you'll need to import the disqus-react NPM package into your React file:
import Disqus from "disqus-react"
This will make the Disqus component available for use in the page.
Below is how you'd use it in a React page:
import React, { Component } from "react"
import Disqus from "disqus-react"

export default class extends Component {
  render() {
    const disqusShortname = "your-site-shortname"
    const disqusConfig = {
      url: "http://localhost:3000",
      identifier: "article-id",
      title: "Title of Your Article"
    }

    return (
      <div className="article-container">

        <h1>Page Title</h1>

        <p>Page content.</p>

        <Disqus.DiscussionEmbed
          shortname={disqusShortname}
          config={disqusConfig}
        />
      </div>
    )
  }
}
Let's break down some of the code.
The first thing we did was import the react and disqus-react NPM packages.
Then, we added some Disqus configuration information inside the render() function of the React component. The first item is the disqusShortname variable. This can be found in your Disqus account dashboard and is the unique identifier for your website. Make sure you add yours instead of the placeholder we put there.
The other Disqus configuration item we added was the disqusConfig object. This is more configuration data for the Disqus.DiscussionEmbed component we added later in the file. This object includes the url, unique identifier, and title of the page. This will further help Disqus tie comments to the correct page on your website.
When you deploy your website to production, make sure these fields are filled out with accurate information.
Then, we added an page title and content elements to the page to simulate the layout of a typical article webpage.
The last thing we added was the Disqus.DiscussionEmbed component that embeds the Disqus comment section into the page.
View Your App
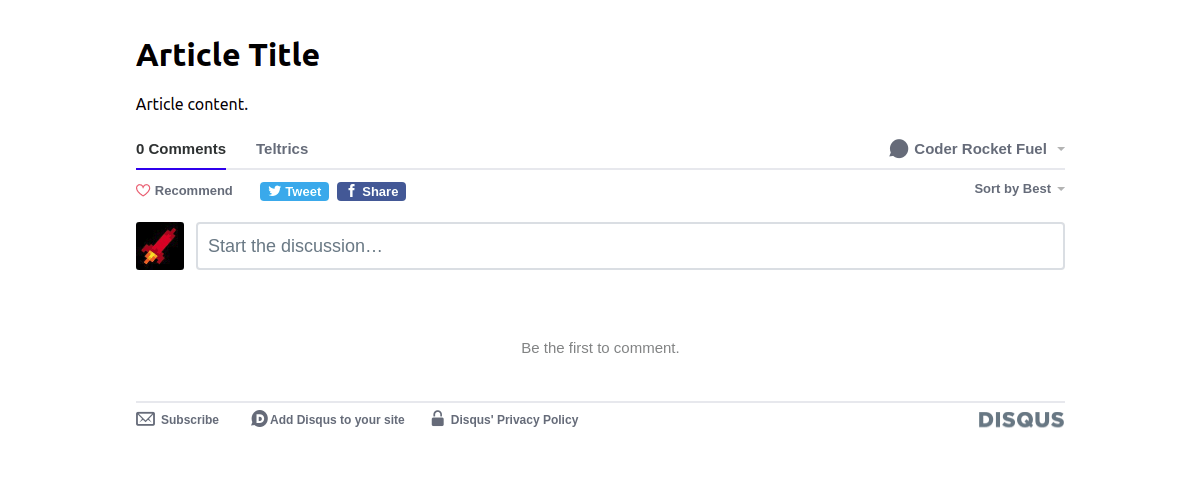
Open your app in your browser and notice the changes. If all went well, it should look something like the screenshot below.

The Disqus component is now embedded in your webpage! Play around with it. Add some comments and adjust the settings to your liking in your account dashboard.