Publish Text, Image, Gif, & Video Twitter Posts Using Node.js
In this article, we're going to walk through how to create and publish a Twitter post with Node.js and the Twitter Developer API.
We'll walk you through how to get set up with a developer account and how to publish the following types of tweets via Node.js:
- Text
- Text With an Image File
- Text With a GIF File
- Text With an MP4 File
The code written here can be found in our Github repository for this article.
Let's get started!
Table of Contents
- Configure a Twitter Developer Account & Register an App
- Configure Node.js Project
- Publish a Tweet With Text
- Publish a Tweet with Text & an Image
- Publish a Tweet with Text & a GIF
- Publish a Tweet with Text & an MP4
Configure a Twitter Developer Account & Register an App
Before we can start coding, we need to create an account on Twitter and get a developer account and application configured and approved by the Twitter team.
If you already have a Twitter Developer account set up and have your access tokens handy, you can skip to the Create Node.js Project section.
Create a Twitter Account
First, make sure you have a Twitter account that you can make posts to.
If you don't have one, head over to their website and create one.

Submit Application For Access to Twitter's API
To get access keys to use Twitter's API, we need to register our application with them. Once they approve your application, you'll be given access to their API.
This process will take longer than you want it to, but Twitter does all this to help stop people from abusing their API.
Log Into the Twitter Developer Website
First, go to Twitter's developer website and make sure you're logged into your Twitter account.

Go to the Apply for Access Page
Then, go to the Apply for Access page and click on the Apply for a developer account button.
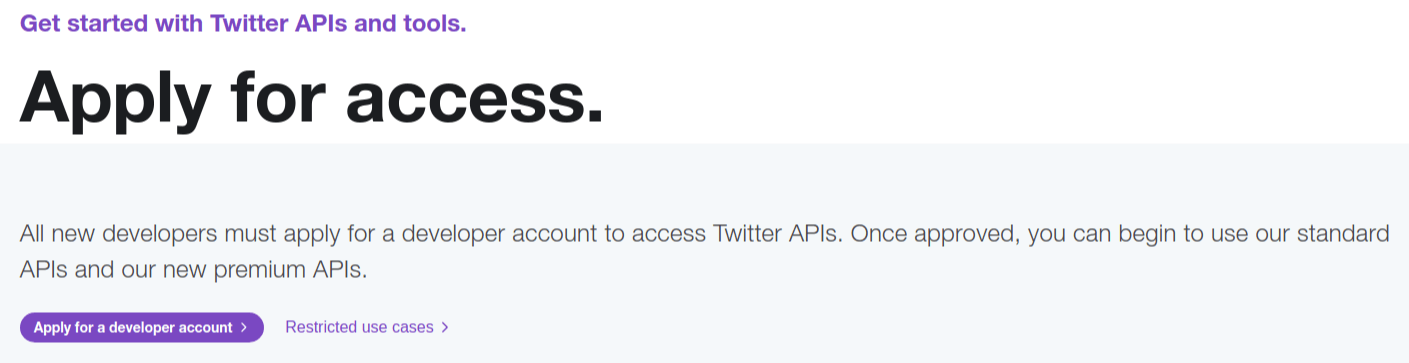
This will open a page with a form you need to fill out. When you're done, it will be submitted to the Twitter team for approval.
Let's quickly move through each of the form sections and get your application submitted.
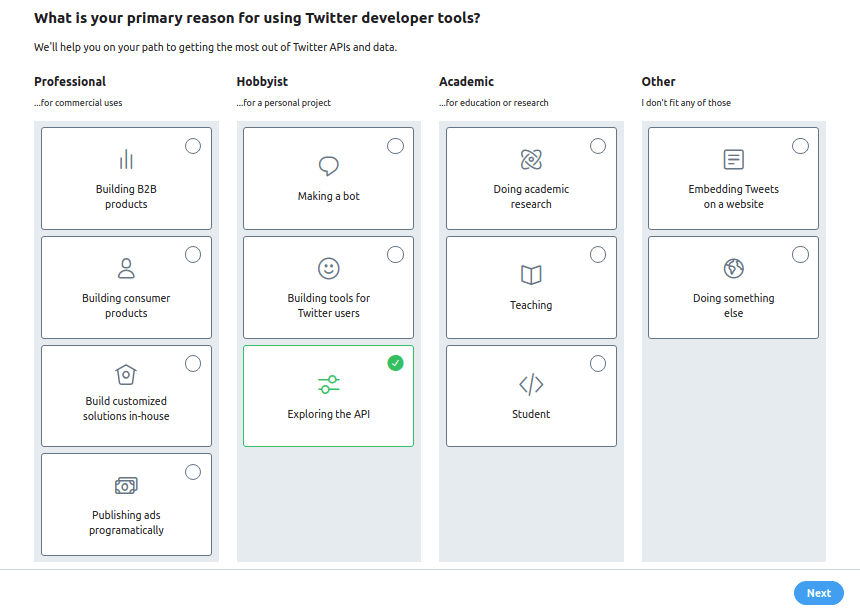
Form Section: Primary Reason for Using Twitter Developer Tools
The first section will ask you what your use case is for using the Twitter API. Select the use case for your application.
To start, we suggest selecting the Exploring the API option.
Then hit the Next button to move on to the next section.
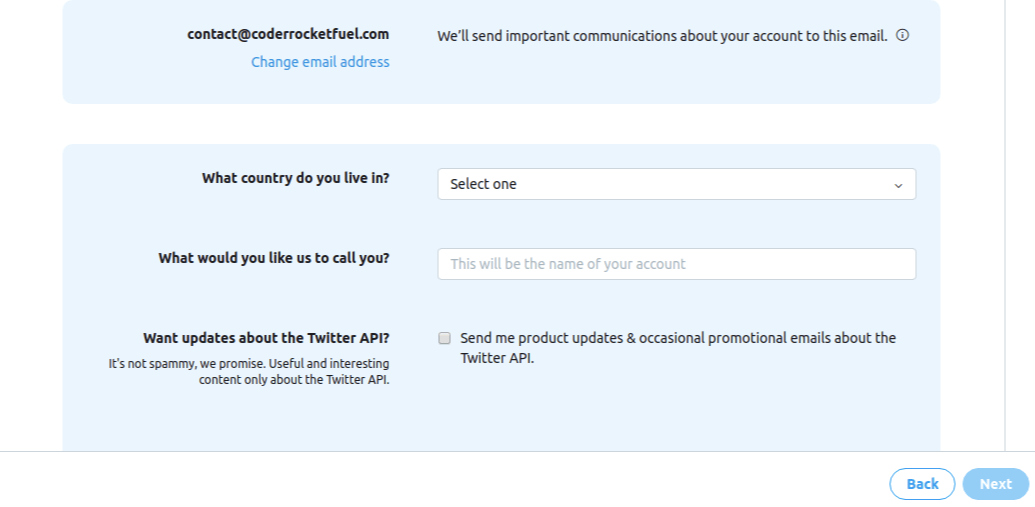
Form Section: Add Account Information
In this section, they want to verify some of your account information, including your email, the country you live in, a name for your developer account, and if you want to opt into getting updates about the Twitter API via email.
Fill out each item and hit the Next button to move on.
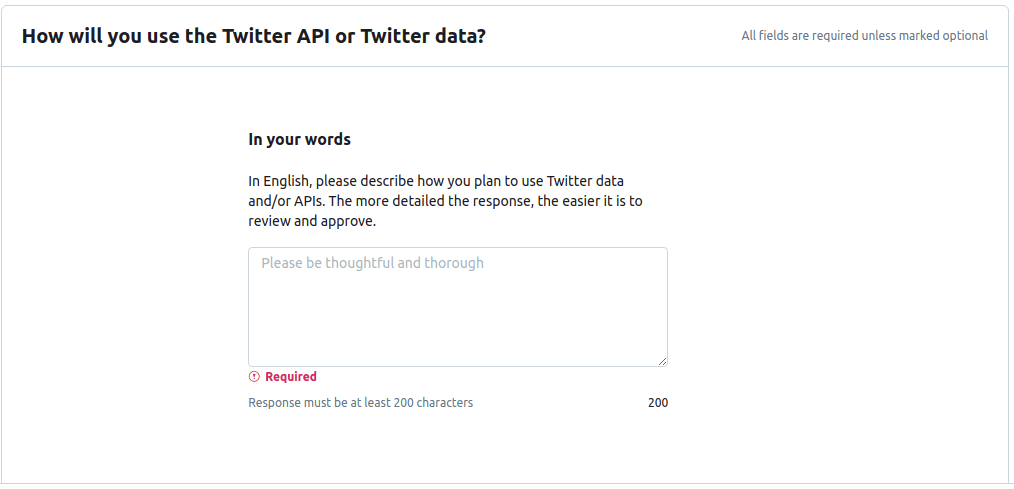
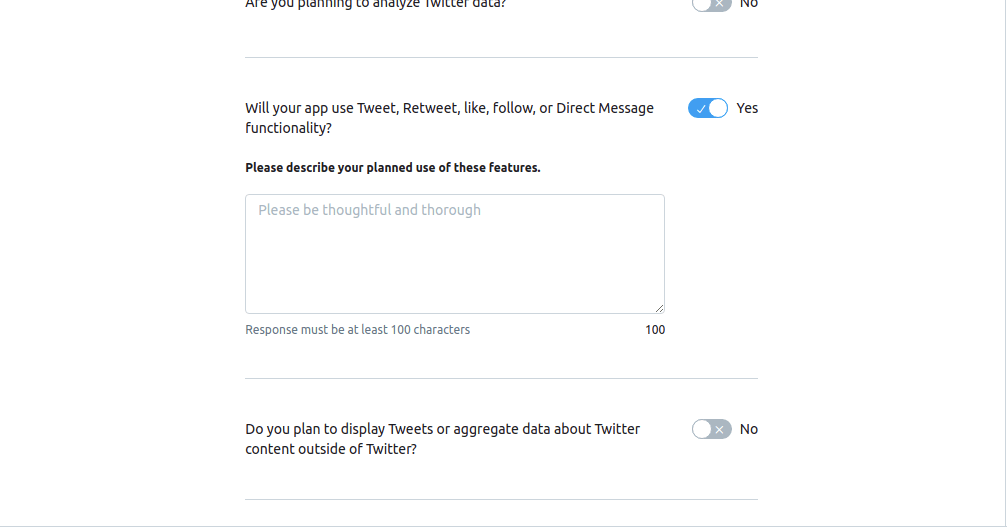
Form Section: How You Will Use the Twitter API
This section of the form asks how you plan on using the Twitter API. There are two different input fields you need to fill out on this page.
The first input field is for you to explain the general purpose of your application and how you plan to use their API. Your response must be at least 200 characters in length.
The other input field is the one labeled Will your app use Tweet, Retweet, like, follow, or Direct Message functionality?
The other inputs can be switched to No and don't need to be filled out.
Fill out this second input field and hit the Next button to move on.
Form Section: Verify Information is Correct
In this section, simply verify all the information you entered is correct.
And then hit the Looks Good! button to move on.

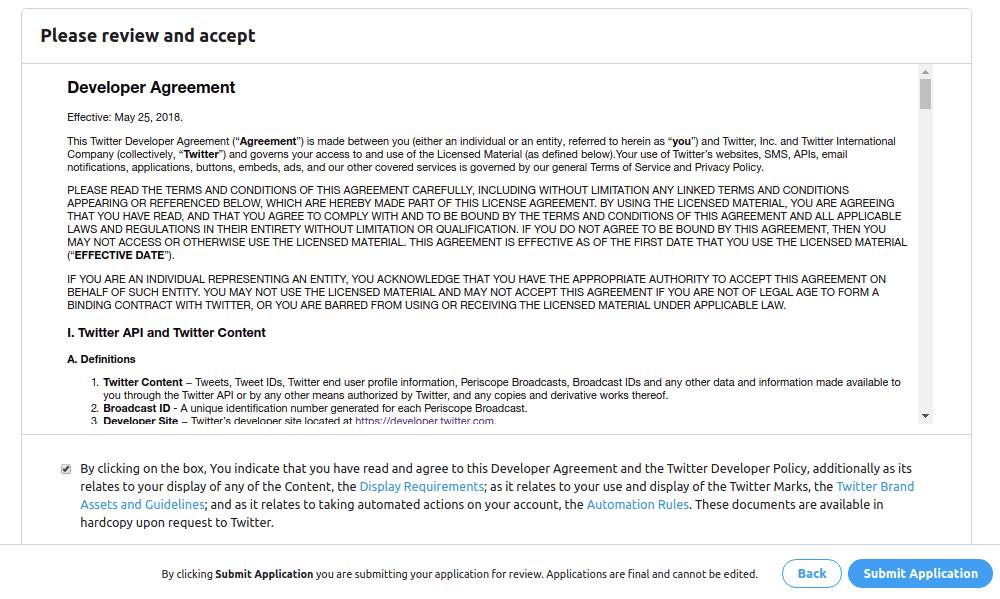
Form Section: Accept Terms of Service & Submit Application
In this last section, examine the terms of service and check the box to indicate you agree to the Developer Agreement and the Twitter Developer Policy.
Then hit the Submit Application to submit your application for review.
Wait for Approval From the Twitter Team
After you submitted the application, you should have seen this page or something similar:
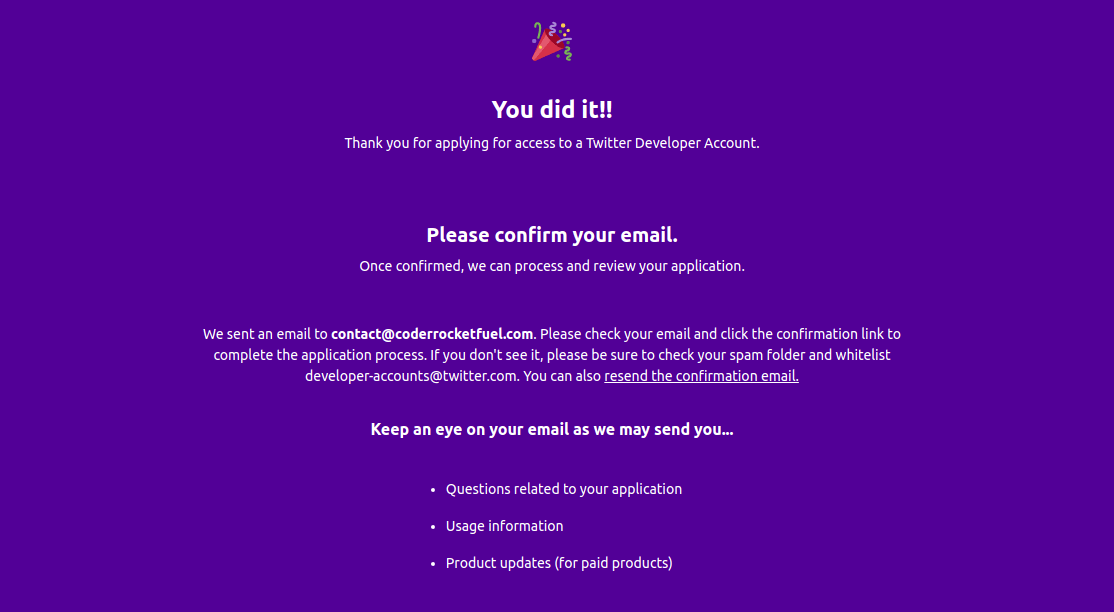
Make sure you click on the link in the confirmation email they sent you.
They usually get back to you within 24 hours and they may have additional questions before they give you access.
Before we can move on to the next step, we need them to approve your application.
Create a Twitter Developer Application
Once your developer account application has been approved, we can move onto creating a Twitter developer application and getting access tokens we can use in our code.
Create an Application
To create an application, go to the apps section of your developer account and click on the Create an app button.
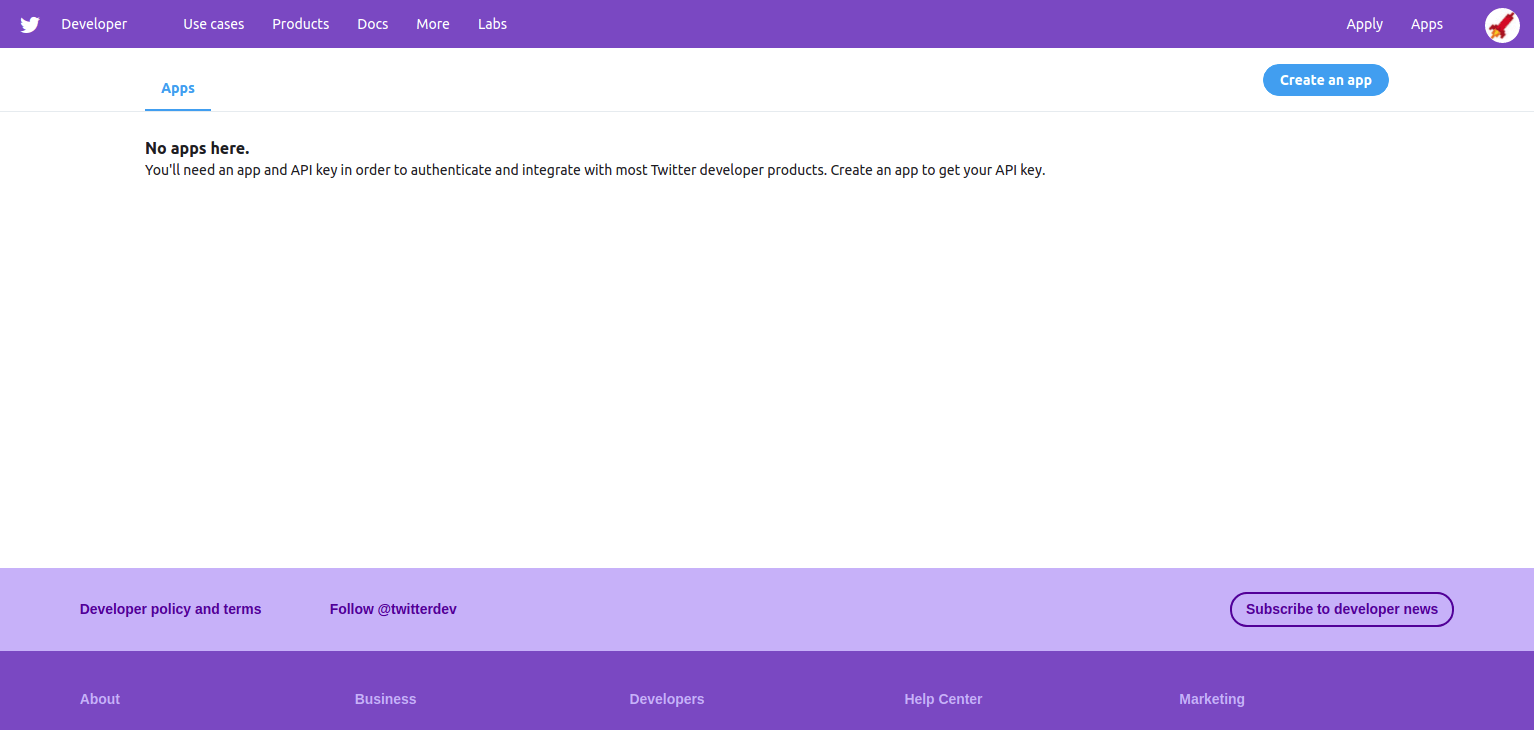
Then fill out the form with all the information for your application.
When you're done, hit the Create button to create your application.
Get Access Tokens
Go to the page for your newly created application and open the Keys and tokens tab.
This page lists the keys and tokens for your application. In our code, these will be used for authentication when we make requests to the Twitter API.
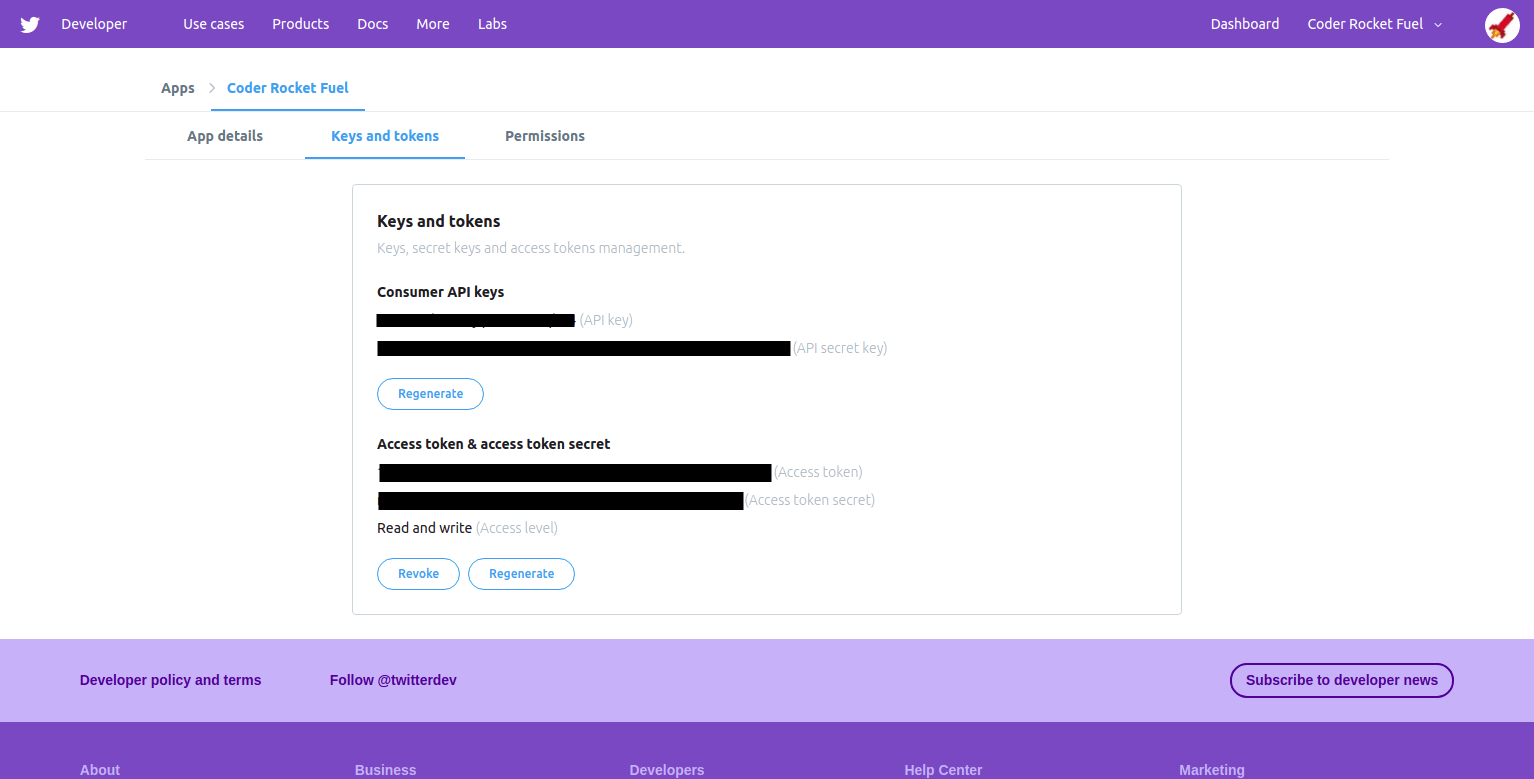
Keep these tokens handy for the next sections of this article.
Configure Node.js Project
Before we start writing code, let's set up our project folder.
Above anything else, you'll need Node.js installed if you don't have it already.
If you need one, we created a guide on installing Node.js.
Create Project Folder
Let's quickly create a directory for our code:
mkdir twitter-nodejs
And then cd into your new directory:
cd twitter-nodejs
Next, run npm init to create a package.json file that will hold the configuration for our code:
npm init
Then create an index.js file where the code we write will reside and a .env file for our Twitter access keys:
touch index.js .env
We now have a folder ready to hold our NPM packages and code.
Install Dependencies
Next, we need to add the NPM package dependencies that will be used in our project. Usually, you would install these as you go, but to make things easier we'll just add everything we need right now.
Add them with this command (you can also use the yarn add command):
npm install twitter dotenv --save
The twitter npm package will do a lot of the grunt work in making requests and interacting with the Twitter API. This package is not maintained by the Twitter company.
The other NPM package we installed is called dotenv. To hide our Twitter access keys, we'll be putting them in a .env file. This file will be ignored when uploading the code to places like Github or when you share your code with others. This package will help us load and use the .env variables into our code.
Publish a Tweet With Text
Let's start things off easy by first publishing a simple text status.
Configure Environment Variables
Open the .env file in your favorite text editor and add the code below. Make sure you add your access keys found in your Twitter Developer Dashboard.
CONSUMER_KEY="YOUR_CONSUMER_KEY"
CONSUMER_SECRET="YOUR_CONSUMER_SECRET"
ACCESS_TOKEN_KEY="YOUR_ACCESS_TOKEN_KEY"
ACCESS_TOKEN_SECRET="YOUR_ACCESS_TOKEN_SECRET"
We will import these variables into our index.js file in the next step.
Add Code to Index.js File
Open the index.js and add this code:
const Twitter = require("twitter")
const dotenv = require("dotenv")

dotenv.config()

const client = new Twitter({
  consumer_key: process.env.CONSUMER_KEY,
  consumer_secret: process.env.CONSUMER_SECRET,
  access_token_key: process.env.ACCESS_TOKEN_KEY,
  access_token_secret: process.env.ACCESS_TOKEN_SECRET
})

client.post("statuses/update", { status: "I tweeted from Node.js!" }, function(error, tweet, response) {
  if (error) {
    console.log(error)
  } else {
    console.log(tweet)
  }
})
In the first two lines of code, we import the two NPM packages we installed in the previous step.
Then, we use the dotenv.config() function, which reads our .env file, parses its contents and assigns the value to the global process.env object.
After that, we create a new Twitter client object with all the access keys from our .env file. We'll use that client object to make requests to the Twitter API throughout the rest of this article.
The last thing we did was use the client.post function to make a statuses/update request to the Twitter API. The only data we need to include in the request is the text we want in our tweet. Then we did a little error handling and logged the tweet object response.
Run Code to Publish the Tweet
Now we need to run the index.js file with the node index.js command. This will publish the tweet to the world.
node index.js
We logged the tweet response, so you should see a big object in your output with all the data for your tweet:
{
  created_at: 'Fri Jul 19 23:53:29 +0000 2019',
  id: 1152365876529770500,
  id_str: '1152365876529770496',
  text: 'I tweeted from Node.js!',
  . . .
}
And if you head over to your profile on Twitter, you should see the tweet published.
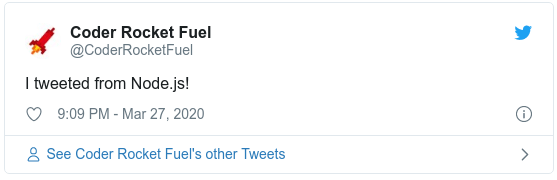
Awesome, you just tweeted from your Node.js application!
What if you want to publish a tweet with an image in it? We'll show you how in the next section.
Publish a Tweet with Text & an Image
To tweet an image to Twitter via their API, we need to do these two things in sequence:
- Upload the image to Twitter
- Using the unique id of the file we uploaded, make a status update with the image attached
Create Directory to Hold Images
To organize our code better, let's create a directory called media to hold our image (we will add additional media files here later).
Run the following command in the root of your project folder.
mkdir media
Now find an image you want to upload and add it to the media folder you just created.
For demonstration purposes, we will use this picture of George Washington: Link to Image.
But feel free to use any image you like instead.
Update Index.js File
Now that we have an image to work with, we need to make some changes to the code in our index.js file.
Open it back up in your text editor and add/update its contents to match the code below:
const Twitter = require("twitter")
const dotenv = require("dotenv")
const fs = require("fs")

dotenv.config()

const client = new Twitter({
  consumer_key: process.env.CONSUMER_KEY,
  consumer_secret: process.env.CONSUMER_SECRET,
  access_token_key: process.env.ACCESS_TOKEN_KEY,
  access_token_secret: process.env.ACCESS_TOKEN_SECRET
})

const imageData = fs.readFileSync("./media/george.jpg") //replace with the path to your image

client.post("media/upload", {media: imageData}, function(error, media, response) {
  if (error) {
    console.log(error)
  } else {
    const status = {
      status: "I tweeted from Node.js!",
      media_ids: media.media_id_string
    }

    client.post("statuses/update", status, function(error, tweet, response) {
      if (error) {
        console.log(error)
      } else {
        console.log("Successfully tweeted an image!")
      }
    })
  }
})
The first thing we did was add a new dependency called Fs (Filesystem). fs is a module that will help us work with the filesystem and since it is a core Node.js module, we don't need to install anything.
Then, we created the imageData variable using the fs module. This variable will represent the data for the image we are going to upload.
After that, we requested the Twitter API to upload the image with the client.post method. The request goes to the "media/upload" endpoint and the only data we add to the request is the imageData.
Once the image is successfully uploaded, Twitter will return a media_id_string value. We then create a variable called status that holds both the text and media_id for the new Twitter post.
Last, we make a request to the statuses/update endpoint using our status variable.
Run Code to Publish the Tweet
Just like before, run the index.js file to post the tweet:
node index.js
If successful, you should see this output in your terminal:
Successfully tweeted an image!
And if you head over to your profile on Twitter, you should see the tweet published.

Publish a Tweet with Text & a GIF
Now it's time to publish a tweet with a Gif!
Publish a Tweet with Text & a GIF
Find a GIF you want to use and add it to the media directory.
For demonstration purposes, we will use this GIF of Homer Simpson and name it homer.gif in our media directory: Link to GIF.
But feel free to use any GIF you like instead.
Update Index.js File
Now that we have a GIF to work with, we need to make some changes to the code in our index.js file.
Unfortunately, the single-step media upload process using media/upload is restricted to only uploading images. And, therefore, doesn't support the upload of movies or animated GIFs.
Instead, we'll need to use a chunked-upload approach with multiple steps. The steps for uploading media this way will still use the media/upload endpoint, but it will be invoked with different commands.
Let's make some changes to the index.js file and we will go through each piece of the code afterward:
const Twitter = require("twitter")
const dotenv = require("dotenv")
const fs = require("fs")

dotenv.config()

const client = new Twitter({
  consumer_key: process.env.CONSUMER_KEY,
  consumer_secret: process.env.CONSUMER_SECRET,
  access_token_key: process.env.ACCESS_TOKEN_KEY,
  access_token_secret: process.env.ACCESS_TOKEN_SECRET
})

const pathToFile = "./media/homer.gif"
const mediaType = "image/gif"

const mediaData = fs.readFileSync(pathToFile)
const mediaSize = fs.statSync(pathToFile).size

initializeMediaUpload()
  .then(appendFileChunk)
  .then(finalizeUpload)
  .then(publishStatusUpdate)

function initializeMediaUpload() {
  return new Promise(function(resolve, reject) {
    client.post("media/upload", {
      command: "INIT",
      total_bytes: mediaSize,
      media_type: mediaType
    }, function(error, data, response) {
      if (error) {
        console.log(error)
        reject(error)
      } else {
        resolve(data.media_id_string)
      }
    })
  })
}

function appendFileChunk(mediaId) {
  return new Promise(function(resolve, reject) {
    client.post("media/upload", {
      command: "APPEND",
      media_id: mediaId,
      media: mediaData,
      segment_index: 0
    }, function(error, data, response) {
      if (error) {
        console.log(error)
        reject(error)
      } else {
        resolve(mediaId)
      }
    })
  })
}

function finalizeUpload(mediaId) {
  return new Promise(function(resolve, reject) {
    client.post("media/upload", {
      command: "FINALIZE",
      media_id: mediaId
    }, function(error, data, response) {
      if (error) {
        console.log(error)
        reject(error)
      } else {
        resolve(mediaId)
      }
    })
  })
}

function publishStatusUpdate(mediaId) {
  return new Promise(function(resolve, reject) {
    client.post("statuses/update", {
      status: "I tweeted from Node.js!",
      media_ids: mediaId
    }, function(error, data, response) {
      if (error) {
        console.log(error)
        reject(error)
      } else {
        console.log("Successfully uploaded media and tweeted!")
        resolve(data)
      }
    })
  })
}
This is a lot to unpack, so let's go through each part.
The first thing we do is import the GIF from our media directory and create the mediaType, mediaData, and mediaSize variables to help define our GIF file.
Below those variables, we run four promise functions in a sequence:
- initializeMediaUpload: Uses the
INITcommand to declare what kind of media we're going to upload and how big it is (in bytes). The API responds with amediaIdthat we use in subsequent calls to identify the GIF we want to upload. - appendFileChunk: Uses the
APPENDcommand to upload the data into chunks. We use thesegment_indexproperty to identify different chunks, sequentially. - finalizeUpload: Uses the
FINALIZEcommand to declare that we are finished uploading the chunks of the GIF file. - publishStatusUpdate: Using the
mediaIdvalue, we make astatuses/updaterequest that posts the tweet.
Run Code to Publish the Tweet
Run the index.js file to post the tweet:
node index.js
If successful, you should see this output in your terminal:
Successfully uploaded media and tweeted!
And if you head over to your profile on Twitter, you should see the tweet published.

Publish a Tweet with Text & an MP4
The last thing we'll tweet is an MP4 video.
Add MP4 File to Media Directory
Find an MP4 file you want to use and add it to the media directory.
For demonstration purposes, we'll use a short, random MP4 video clip. You can download it with this link: Download.
Whatever file you choose, make sure you place it in your media directory.
Update Index.js File
Now that we have an MP4 file to work with, we just need to make two small updates to the code we used for the previous GIF tweet.
Open the index.js file in your text editor again and change the pathToFile to the path of your MP4 file and the mediaType value to "video/mp4". It should read similar to this:
. . .

const pathToFile = "./media/test.mp4"
const mediaType = "video/mp4"

. . .
Once the pathToFile and mediaType values are updated, the code is ready to go!
Run Code to Publish the Tweet
Run the index.js file to post the tweet:
node index.js
If successful, you should see this output in your terminal:
Successfully uploaded media and tweeted!
And if you head over to your profile on Twitter, you should see the tweet published.

After this article, you should have a good grasp of how to work with the Twitter API using Node.js.
Specifically, you should now know how to publish text, image, GIF, and video tweets using Node.js and the Twitter Developer API.
The code written here can be found in our Github repository for this article.
Thanks for reading and happy coding!